The roof installation process is the part of a reroof that most homeowners never see up close, and that is exactly why it can feel stressful. You sign a contract, a crew arrives one morning, and a few days later your home has a completely new roof. What happens in between? This guide walks through the roof installation process step by step, from the first inspection and material delivery to the final walkthrough, so you know what to expect on each day, what good work looks like at each stage, and which questions are worth asking while the crew is on site. It is written for homeowners in Vancouver and across the Lower Mainland, where heavy rain, moss growth and older housing stock add a few steps that drier climates skip.
Before Installation Day: The Work You Do Not See
A good roof installation process starts before anyone climbs a ladder. It begins with an inspection, where the estimator gets onto the roof and into the attic to check the deck, ventilation, flashing and the condition of the existing layers. That inspection is what turns a guess into a written quote: the scope of work, the material and product line, the flashing and ventilation work included, disposal, and the warranty terms. If you have not yet chosen a contractor, our guide on how to choose a roofing contractor in Vancouver covers the licence, insurance and quote checks to run first, and our Vancouver roof replacement cost guide explains what drives the price.
Once you accept a quote, the contractor orders materials, confirms the shingle colour and product line with you, and books the crew. Permits depend on the municipality and the scope of the work: a like-for-like reroof often needs no permit, while structural changes or a change of roofing type can. A professional contractor will tell you which case applies to your home and handle any application. You will also agree on a start date with a weather eye on it: coastal crews watch the forecast closely, because a roof should only be opened up when it can be made watertight again the same day.
Before the crew arrives, clear the driveway for materials and the bin, move cars and patio furniture away from the walls, and mention attic access, pets and delicate landscaping. Cover items stored in the attic, since tear-off shakes dust loose.
Step 1: Delivery and Site Protection
Materials usually arrive the day before work starts, or first thing on installation morning: shingles, underlayment, flashing, vents and ridge cap, staged neatly on the driveway or in the yard. The disposal bin arrives around the same time, placed where it can be loaded without damaging the driveway. Before any old roofing comes off, the crew protects the property. Tarps go over gardens, decks and air conditioning units, plywood shields delicate planting, and gutters are guarded where ladders will rest. Most damage complaints from roofing jobs trace back to skipped protection, not to the roofing itself.
Step 2: Tear-Off of the Old Roof
Tear-off is the loudest, messiest stage, and it is also one of the most important. The crew strips the old shingles, underlayment and nails down to the bare roof deck, working in sections so that no part of your home sits open longer than it has to. Debris goes straight into the bin, and the crew sweeps up nails as they go. A full tear-off is the standard recommendation for most Vancouver reroofs, even though laying new shingles over the old roof is sometimes possible. Tear-off lets the crew inspect the deck underneath, keeps the weight on the roof structure down, and is what most manufacturers require for a full warranty. If a quote proposes an overlay, ask why and what warranty still applies.
Step 3: Deck Inspection and Repair
With the old roof off, the crew can finally see the deck, usually plywood or oriented strand board, that everything else sits on. They walk it and look for soft spots, sagging, water staining and rot, especially around valleys, eaves, skylights and anywhere a leak has run. Damaged sheets get cut out and replaced, and the cost of that repair should already be spelled out in your quote, typically priced per sheet, so there is no surprise negotiation mid-job. Ask the crew to show you photos of any deck damage they replace.
Step 4: Underlayment and Ice-and-Water Shield
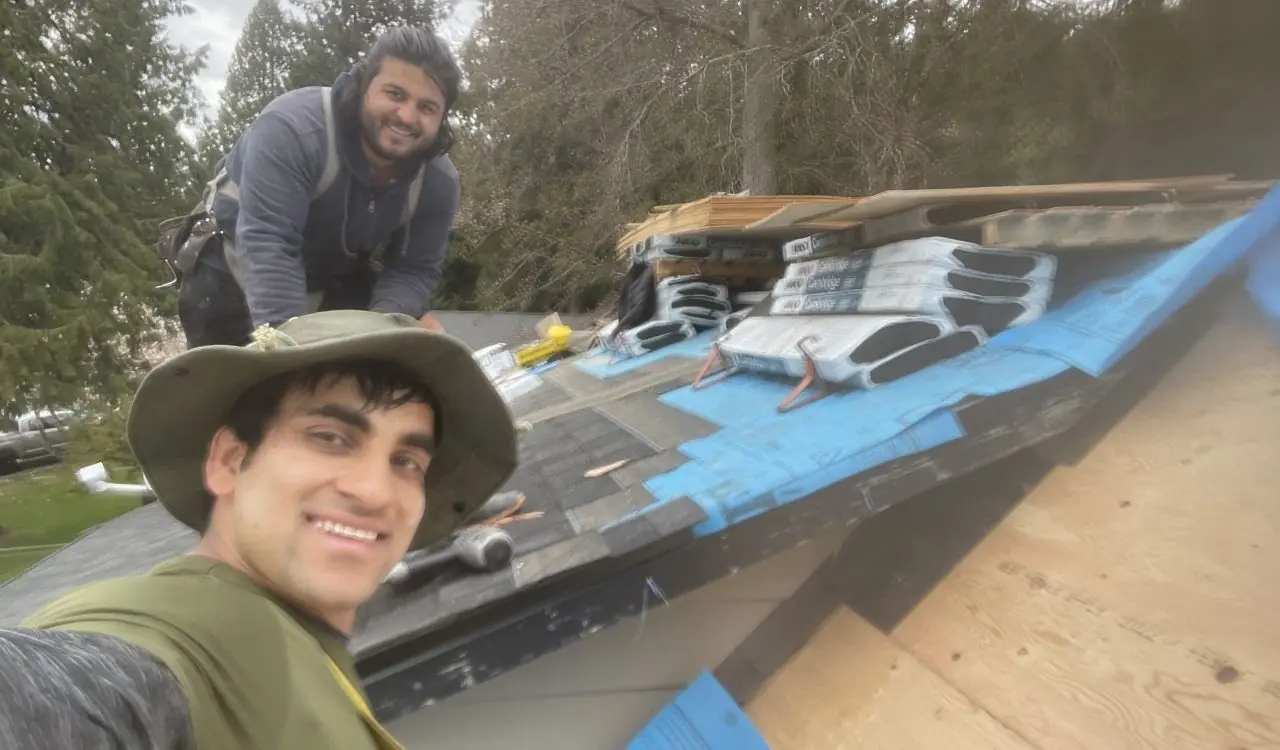
Next comes the underlayment, the water-resistant layer that sits between the deck and the shingles and acts as a second line of defence if wind ever drives rain under a shingle. Modern jobs use a synthetic underlayment, which is lighter and more tear resistant than the old felt paper. Over it, at the most vulnerable places, goes ice-and-water shield, a self-sealing membrane that sticks to the deck and seals around nail holes. On a Vancouver roof that means the eaves, the valleys, around skylights, chimneys and vents, and anywhere the slope is low. Once the shingles are on, nobody can see this layer, which is why a written scope that names it matters.
Step 5: Drip Edge, Flashing and Ventilation
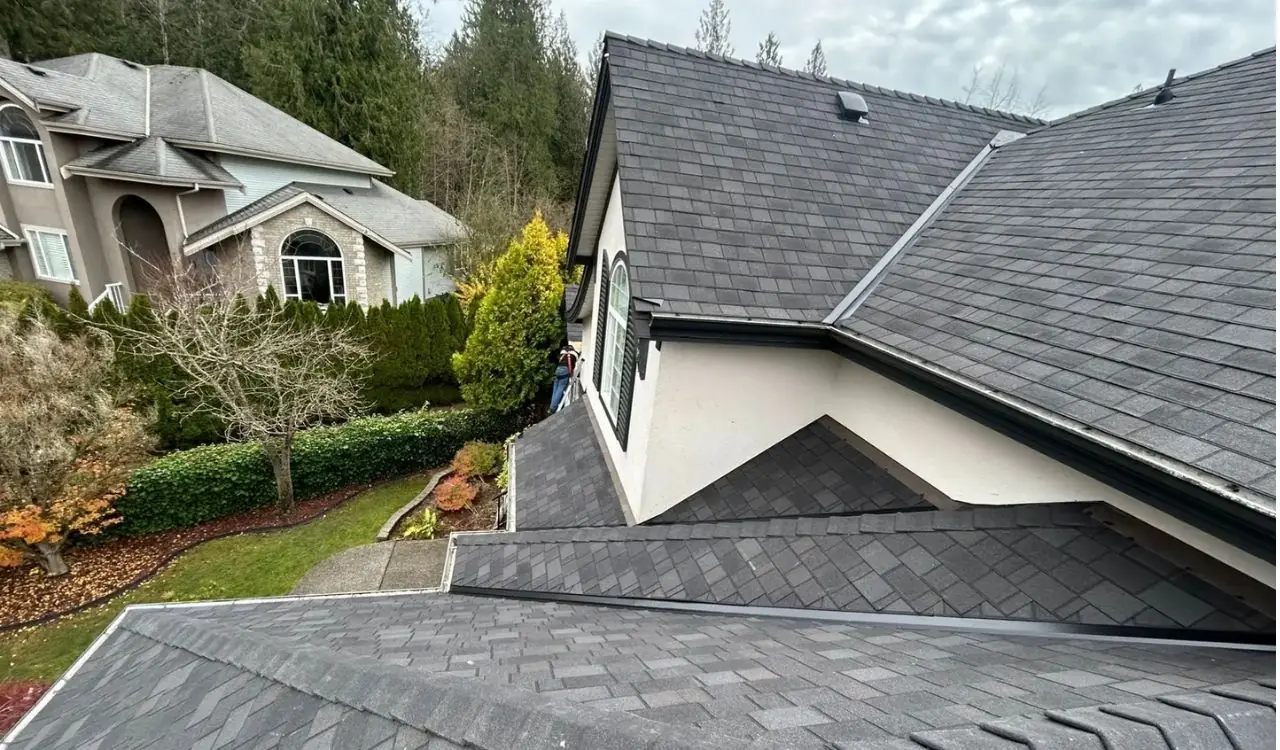
Before the field shingles go on, the crew installs the metalwork that directs water off the roof and keeps it out of the walls. Drip edge runs along the eaves and rakes so water falls into the gutter instead of wicking back under the shingles. Step flashing goes where the roof meets a wall or chimney, woven in with each shingle course, and valley flashing protects the channels where two slopes meet and water concentrates. Old flashing is usually replaced, not reused: flashing that has already spent twenty years flexing with heat and frost is not a component to trust for another twenty.
Ventilation is fitted at the same stage, and it matters more in our climate than most homeowners realise. A roof system needs balanced airflow, intake low at the soffits and exhaust high at the ridge, to carry moist air out of the attic. Without it, condensation builds up and shingles age faster from underneath. Bathroom and kitchen fans must vent outside through the roof, never into the attic.
Step 6: Shingle Installation (or Membrane on Flat Sections)
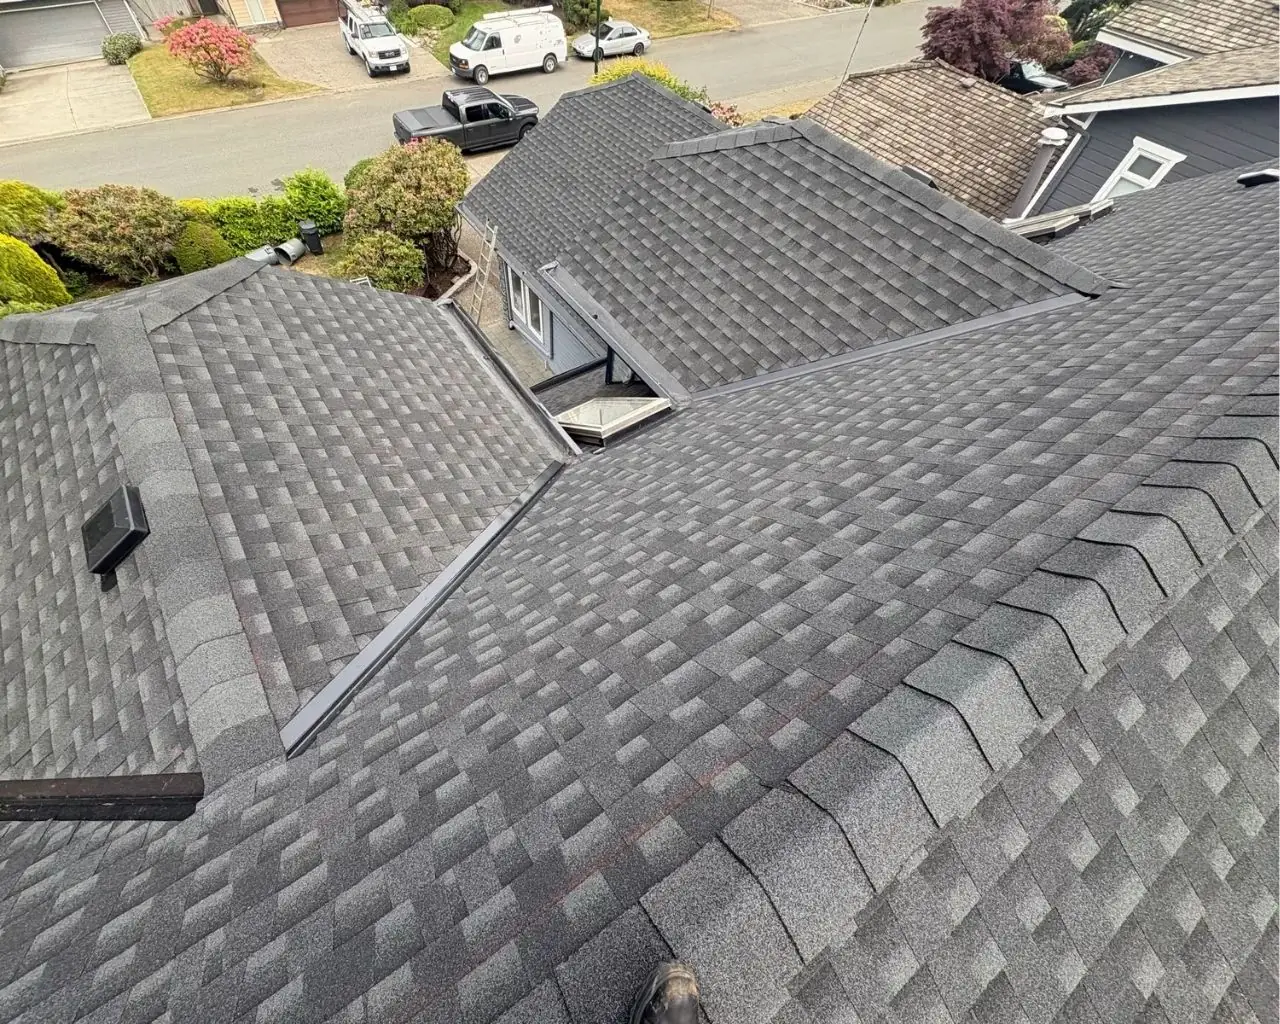
Now the roof starts to look like a roof. A starter course goes along the eaves, then field shingles are laid course by course from the bottom up, each row overlapping the one below so water always runs over, never under, a joint. Nail placement and count follow the manufacturer's specification for the product and the wind exposure, and this is a detail worth caring about: nails driven too high or too few per shingle are the classic cause of shingles lifting in a windstorm. Valleys are finished in one of a few proven methods, such as a closed-cut or metal valley, chosen for the roof's pitch and the volume of water the valley carries.
Homes with flat or low-slope sections get a different treatment. Asphalt shingles need slope to shed water, so flat sections are finished with a torch-on membrane system instead, applied in layers and sealed at the seams, as described on our roof installation page. Where a home mixes pitched and flat areas, the crew details the junction between the two systems carefully, since that seam is a common leak point when it is rushed.
Step 7: Ridge Cap and Finishing Details
With the field shingles on, the crew caps the ridge with purpose-made ridge cap shingles, which also cover the ridge vent where one is fitted. Pipe boots go over plumbing vents, chimney and skylight flashing gets its final check, and any roof penetrations, from vents to satellite mounts, are sealed and flashed. A good foreman walks every penetration before calling the roof done.
Step 8: Cleanup and Magnetic Sweep
Cleanup happens daily, not just at the end: debris into the bin, tarps folded, tools off the lawn, and the roof itself blown or swept clear. On the final day the crew does a full magnetic sweep of the lawn, driveway, garden beds and any area where nails could have fallen, usually more than once. Gutters are cleared of granules and offcuts, and the bin is hauled away. When the crew leaves, your property should look untouched apart from the new roof. If nails keep turning up in the grass, call the company back.
Step 9: Final Walkthrough and Warranty Paperwork
The last step of the roof installation process is the walkthrough. The supervisor should walk the property with you, show you photos of the finished roof and any deck repairs, confirm the ventilation and flashing work, and answer questions. Only then does the final payment fall due, and only then should you receive the warranty paperwork: the manufacturer's warranty on the materials and the contractor's written warranty on the workmanship, including what each covers, for how long, and who to call if something goes wrong. File those documents with your home records so any future warranty question is quick to answer.
How Long Does a Roof Installation Take?
As a rough guide, a straightforward replacement on a typical detached Lower Mainland home often takes two to four working days, while larger, steeper or more complex roofs take longer. Deck repairs, skylight or chimney work, and flat sections with membrane all add time. Weather is the wildcard in Vancouver: a crew will not strip a section it cannot dry in the same day, and a wet forecast can push a start date or stretch a job by a day. That caution is professionalism, not delay.
What to Expect as a Homeowner During the Job
Expect noise, starting early in the morning, and some vibration through the house during tear-off. It is loudest on the top floor and in rooms directly below the work, and it eases considerably once shingles start going on. Most homeowners stay in the home throughout; the disruption is noise and driveway access, not habitability. Keep children and pets away from the work zone and the bin, and plan around the driveway being occupied. Dust can drift into the attic, which is why covering stored items beforehand helps. Above all, expect communication: a named supervisor, a daily word on progress, and honest notice when weather changes the plan. If you get no update for a full day, ask. That is a reasonable expectation, not a complaint.
Warning Signs to Watch For During Installation
Most jobs run smoothly, but a few warning signs are worth knowing so you can raise them early, while they are still cheap to fix:
- No underlayment, or shingles going straight onto bare deck. Ask why, and check it against your written scope.
- New shingles over a soft or rotted deck. Rot does not heal under a new roof; it spreads.
- Reused flashing with no discussion. Reuse is sometimes fine, but it should be a deliberate decision, not a default.
- Roof left open overnight without a watertight cover. Every section should be dried in before the crew leaves.
- No visible supervisor and no daily update. A crew with nobody accountable is a crew where details slip.
- Debris in the gutters or nails left in the lawn at day's end. Daily cleanup is part of the job, not an extra.
After Installation: The First Rain and Ongoing Care
Your new roof's first real test is the first heavy rain. Afterwards, check the attic for any sign of drips, look at ceilings for staining, and confirm the gutters are running clear. That first-rain check is exactly what the workmanship warranty is for. Longer term, the habits that protect a roof in our climate are simple: keep gutters clear, watch for moss on shaded slopes, and get the roof inspected on a sensible cycle. If you are unsure whether an older roof is ready for this process at all, the signs you need a new roof guide helps separate a roof that needs replacing from one that still has life in it. And if you live in the city itself, our Vancouver roofing page covers local service details.
Knowing the roof installation process in advance does one simple thing: it turns a week of noise and strangers on your roof into a sequence you can follow, check and ask about. When you know what tear-off, underlayment, flashing and the final walkthrough should look like, you can spot good work as it happens and catch the rare problem while it is still easy to fix. If you are planning a reroof anywhere in Vancouver, Surrey, Delta or the wider Lower Mainland, request a free inspection and we will walk you through each of these steps for your own roof, in writing, before any work begins.