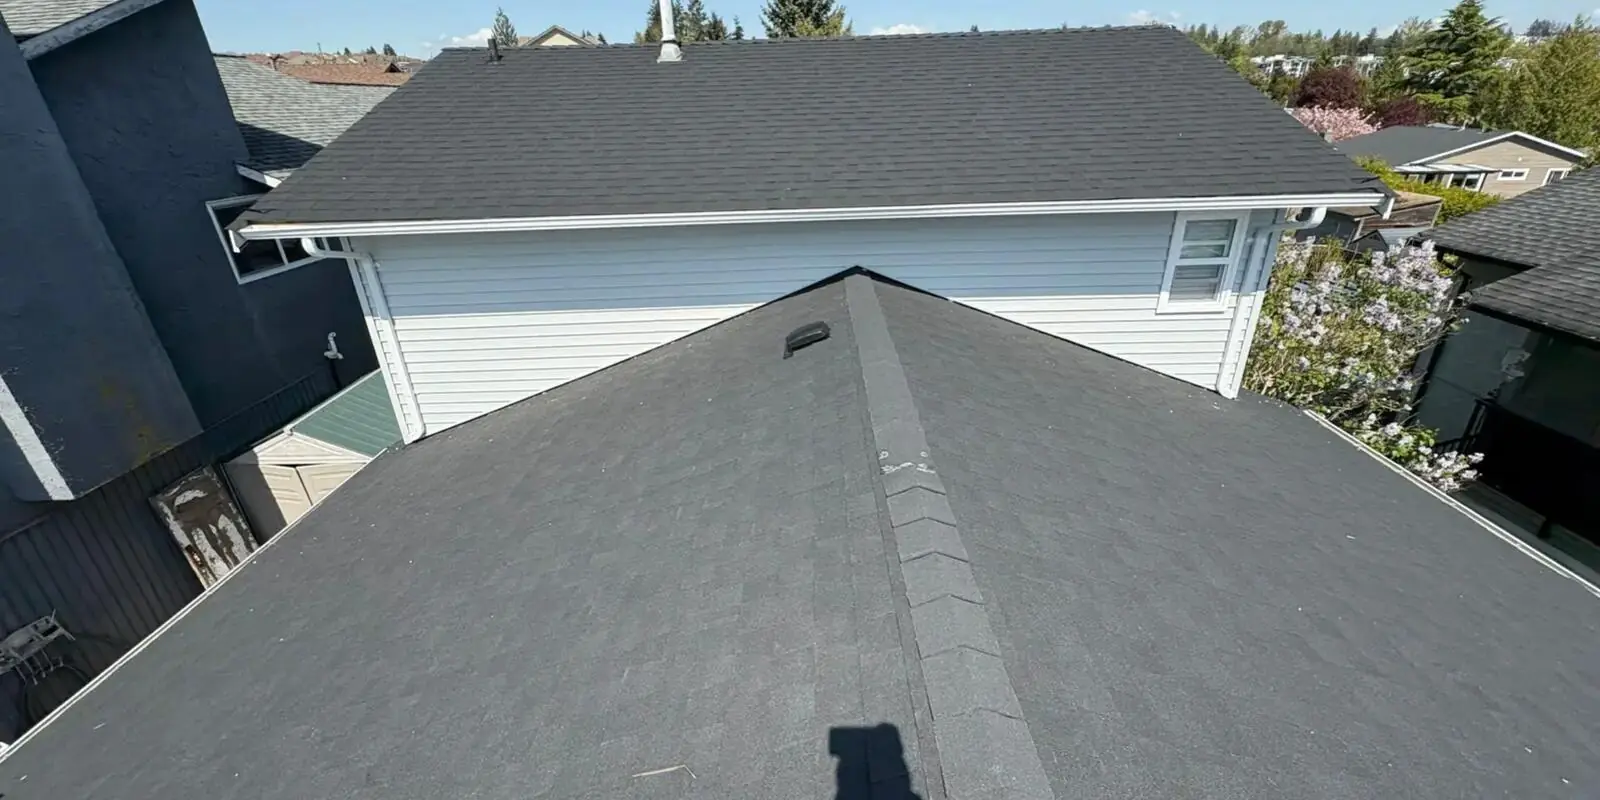
A skylight can turn a dark hallway into the brightest room in the house, and a venting one can clear a steamy bathroom in minutes. But skylight installation in Vancouver comes with a catch that our wet climate makes unforgiving: a skylight is a hole in your roof, and the only thing standing between that hole and the next atmospheric river is the flashing around it. This guide covers the skylight types worth considering, the signs yours needs replacing, what installation actually involves, what it costs around here, and the mistakes that turn a good skylight into a leak. It is written for homeowners in Surrey, Vancouver, Delta and the wider Lower Mainland, where heavy rain and older housing stock shape every roofing decision.
Why Homeowners Add or Replace a Skylight
Most skylight jobs start with a dark room. Hallways, stairwells, bathrooms and lofts in older Lower Mainland homes were often built with little natural light, and a skylight is the most direct fix: it brings daylight in from above, where no window can reach. A venting skylight does a second job in kitchens and bathrooms, giving humid air a direct exit.
Replacement is the other common reason. Skylights age at roughly the same rate as the roof around them, and a unit past 15 to 20 years old is living on borrowed time: seals fail, domes yellow and crack, and the flashing wears down. Replacing it on your own schedule beats replacing it during the next big storm. Our skylight replacement and installation service covers replacement, new installation and leak repair across Surrey, Vancouver, Richmond and Coquitlam.
The third reason is timing. If a roof replacement is already planned, adding or replacing skylights at the same time costs noticeably less per unit than a standalone job later, because the roofing is already open and the flashing integrates cleanly with the new roof system.
Skylight Types: Fixed, Venting and Sun Tunnels
Not every skylight is the same, and the right type depends on the room, the roof and what you want from it.
- Fixed skylight. A non-opening unit that brings in daylight. Best for living rooms, hallways and stairwells where you want light and nothing else. The simplest and most affordable type, and the easiest to keep watertight because there are no moving parts.
- Venting skylight, manual. Opens with a handle to let in fresh air. Best for kitchens and bathrooms where moisture builds up, provided the unit is within easy reach.
- Venting skylight, electric. Opens at the touch of a button or a sensor, which suits high ceilings and lofts where a handle is out of reach. Some models include rain sensors that close the unit automatically when rain starts.
- Sun tunnel. A reflective tube that carries daylight from the roof down to a ceiling diffuser. Best for dark hallways, closets and bathrooms with no direct roof access above them. Much less invasive to install than a full skylight, because the roof opening is small.
- Curb mounted vs deck mounted. A curb mounted unit sits on a raised wood curb; a deck mounted unit sits flush on the roof deck. Curb mounted suits most replacements, because the existing curb can usually be reused or rebuilt.
Signs Your Skylight Needs Replacing
Skylights rarely fail all at once. They give warnings, and catching them early is the difference between a planned replacement and an emergency leak call.
- Fogged or cloudy glazing. If the glass looks hazy or you see condensation trapped between the panes, the seal has failed and the glazing needs replacing.
- Cracked or yellowed domes. Acrylic domes yellow and go brittle with UV exposure. A cracked dome is a leak waiting for the next rain.
- Recurring leaks. A leak that keeps coming back after repairs usually means the flashing system has failed or the curb has deteriorated. Replacement with a proper flashing kit then costs less than another round of patching.
- Stained or soft interior trim. Water marks on the drywall around the skylight shaft mean water is getting past the flashing. Soft drywall signals ongoing damage behind the paint.
- Drafts. If you feel cold air around the skylight in winter, the seals are gone and you are losing heat every day the heating runs.
- Age. A skylight past 15 to 20 years old owes you nothing. If your roof is being replaced, the skylights should go with it.
Two or three together usually means the unit is near the end of its life. A roof inspection looks at the skylight, the flashing and the surrounding roofing in one visit. Our roof inspection service covers Vancouver, Surrey and the wider Lower Mainland.
What Skylight Installation Involves, Step by Step
A proper skylight installation is methodical work, and most of the care goes into parts you never see. Here is how the job runs.
- Assessment. We inspect the skylight, the curb, the flashing and the surrounding roofing, plus the interior shaft and trim. You get photos and an honest repair or replace recommendation before anything is ordered.
- Unit selection. We help you choose fixed, venting or sun tunnel, sized to the existing opening or the new one we will frame.
- Interior protection. Drop sheets and dust control go around the shaft before any cutting starts.
- Cutting the opening and framing. For a brand new skylight, the opening is cut and framed to the unit size, with the surrounding rafters properly supported. For a replacement, the old unit comes out and the curb is exposed.
- Curb work. Any rotted wood is replaced and the curb is squared up. A curb that is out of square or soft will not hold a watertight seal, so this step is not skipped.
- Flashing and underlayment. Ice and water shield goes on the curb and around the opening, then the step flashing kit is woven into your roofing material course by course. This is the step that decides whether the skylight stays dry for decades.
- Setting the unit. The new skylight is set, levelled and secured to the manufacturer specification.
- Interior trim and water testing. The trim is finished, the area is cleaned, and the installation is water tested before we leave.
A straightforward replacement usually takes half a day to a full day per skylight, including interior trim and water testing. Adding a brand new skylight with framing and interior finishing can run one to two days. Our step by step roof installation process guide walks through inspection, tear-off, underlayment and the final walkthrough for a full reroof.
The Flashing Kit: Where Most Skylight Leaks Start
Here is something most homeowners never hear: in most cases we investigate, the skylight leak is a flashing failure, not a skylight failure. The unit is watertight. The metal and membrane system that is supposed to carry water around it is not.
A proper skylight flashing kit is a step flashing system that weaves into the roofing material course by course, backed by ice and water shield on the curb and around the opening. Each piece overlaps the one below so water always sheds outward and down. It is fussy, layered work, and it is exactly where rushed installers cut corners: reusing old flashing, skipping the ice and water shield, or face sealing with caulking.
Caulking is not flashing. If a previous repair tried to stop your skylight leak with a tube of sealant, that explains why it came back. When we replace a skylight, the flashing kit is new, the curb is inspected and rebuilt if needed, and everything ties into your roofing system properly. Our roof installation service includes a ventilation and flashing check on every reroof.
What Skylight Installation Costs in Vancouver
Skylight pricing has two parts: the unit and the installation. The ranges below are general market guidance for the Lower Mainland, not a quote from us. Roof pitch, access, the number of skylights and interior finish work all move the number.
- Fixed skylight unit, standard size: $400 to $900. Larger or custom sizes run higher.
- Venting skylight unit: $700 to $1,500. Electric models sit at the top of the range.
- Sun tunnel kit: $500 to $1,000, including the tube and diffuser.
- Installation with flashing kit: $800 to $1,800 per skylight, including curb work, underlayment integration and interior trim.
- Curb rebuild: $200 to $500, when the existing curb is rotted or out of square.
- Adding a new skylight, all in: $1,500 to $3,500, covering the unit, structural framing, flashing and interior finish.
Your written itemised quote from us comes after we see the roof and the interior, with labour and materials broken out, so there are no surprises. If your roof is within a few years of replacement, price both together: doing skylights as part of a roof replacement costs noticeably less per unit than a standalone job. Our Vancouver roof replacement cost guide breaks down typical 2026 ranges by home type.
Adding a Skylight During a Roof Replacement
If you are replacing your roof, that is the ideal moment to add a skylight or replace aging ones: with the roofing already off, cutting the opening and integrating the flashing adds far less cost than a standalone job later.
There is a technical reason too, not just a cost one. Flashing integrated with a brand new roof system, with fresh underlayment and ice and water shield, is simply more watertight than flashing retrofitted into an existing roof. If you have ever wanted more daylight in a dark hallway or a venting skylight in a steamy bathroom, mention it when we quote the roof.
The reverse is also true: if your roof is near the end of its life and your skylights are the same age, replacing the skylights alone now means paying for flashing work twice. We will give you the honest math on both paths before you decide.
Common Skylight Installation Mistakes to Avoid
Most skylight problems trace back to the installation, not the unit.
- Reusing the old flashing. Old flashing looks fine from above and fails from below. A new unit on old flashing is a leak with a delay built in.
- Sealing with caulking instead of flashing. A bead of sealant around the frame is not a flashing system. It cracks, shrinks and lets water in within a couple of seasons.
- Skipping the curb rebuild. Setting a new unit on a rotted or out of square curb guarantees a poor seal. The curb is cheap to rebuild and expensive to ignore.
- Wrong size or placement. A skylight too small for the room barely changes the light, and one placed where the roof framing cannot support it creates structural trouble.
- Forgetting ventilation. A fixed skylight over a steamy bathroom adds light but does nothing for the moisture, which then condenses on the coldest surface it can find. In a bathroom or kitchen, a venting unit is usually the better choice. Our guide to roof ventilation and the signs yours is failing explains what trapped moisture does to a roof over time.
- Not checking whether a permit is needed. Cutting a new opening in the roof structure can need a municipal permit, depending on the scope of the work. Ask your contractor before work starts, not after.
- Choosing on price alone. The cheapest skylight quote is usually the one that skips the flashing kit, the ice and water shield or the curb work. Those are exactly the parts that keep the unit dry.
How to Choose a Skylight Installer
A skylight is only as good as its installation, so the contractor matters more than the brand of the unit. Ask these questions before you sign anything, and get the answers in writing. Our guide to how to choose a roofing contractor in Vancouver covers the licences, insurance and reviews to check in full.
- How many skylights have you installed, and can I see photos of recent jobs?
- Is the flashing kit new, and is it itemised in the written quote?
- Will you inspect and rebuild the curb if it is rotted or out of square?
- Is the installation water tested before you leave?
- What does the workmanship warranty cover, and for how long?
- Are you licensed, bonded and insured, and can you show proof?
A contractor who answers these plainly is one you can trust with the work. One who quotes a skylight without looking at the curb or the roof around it is one to think twice about.
The Bottom Line
A skylight is one of the best upgrades a Lower Mainland home can get: daylight where no window reaches, fresh air where moisture builds up, and a room that feels completely different for the cost of a single unit. The difference between a skylight you love and a skylight you regret is almost always the installation, and specifically the flashing kit and curb work that nobody sees once the job is done. Choose the right type for the room, replace aging units before they leak, and if a reroof is on the horizon, do the skylights with it. If your home is anywhere in Surrey, Vancouver, Delta or the wider Lower Mainland, book a free inspection and we will check the skylights, the flashing and the roof around them, and give you a written report and an itemised quote.