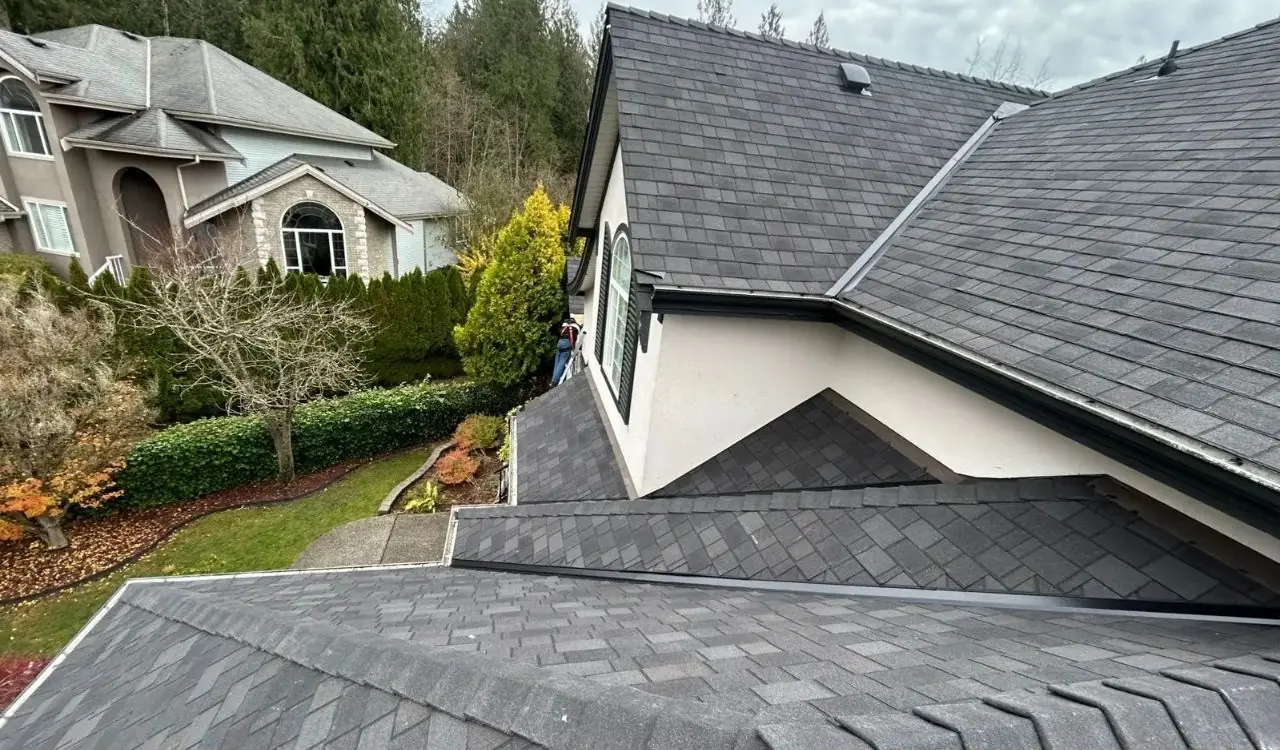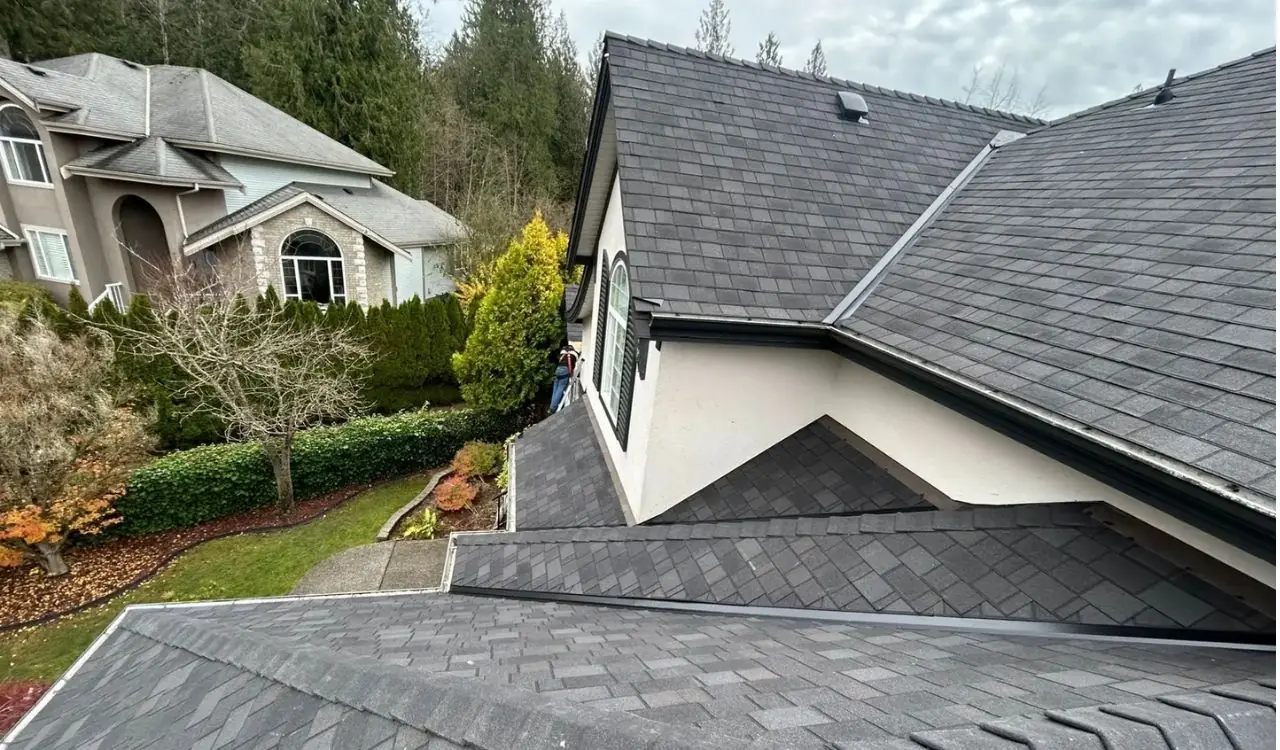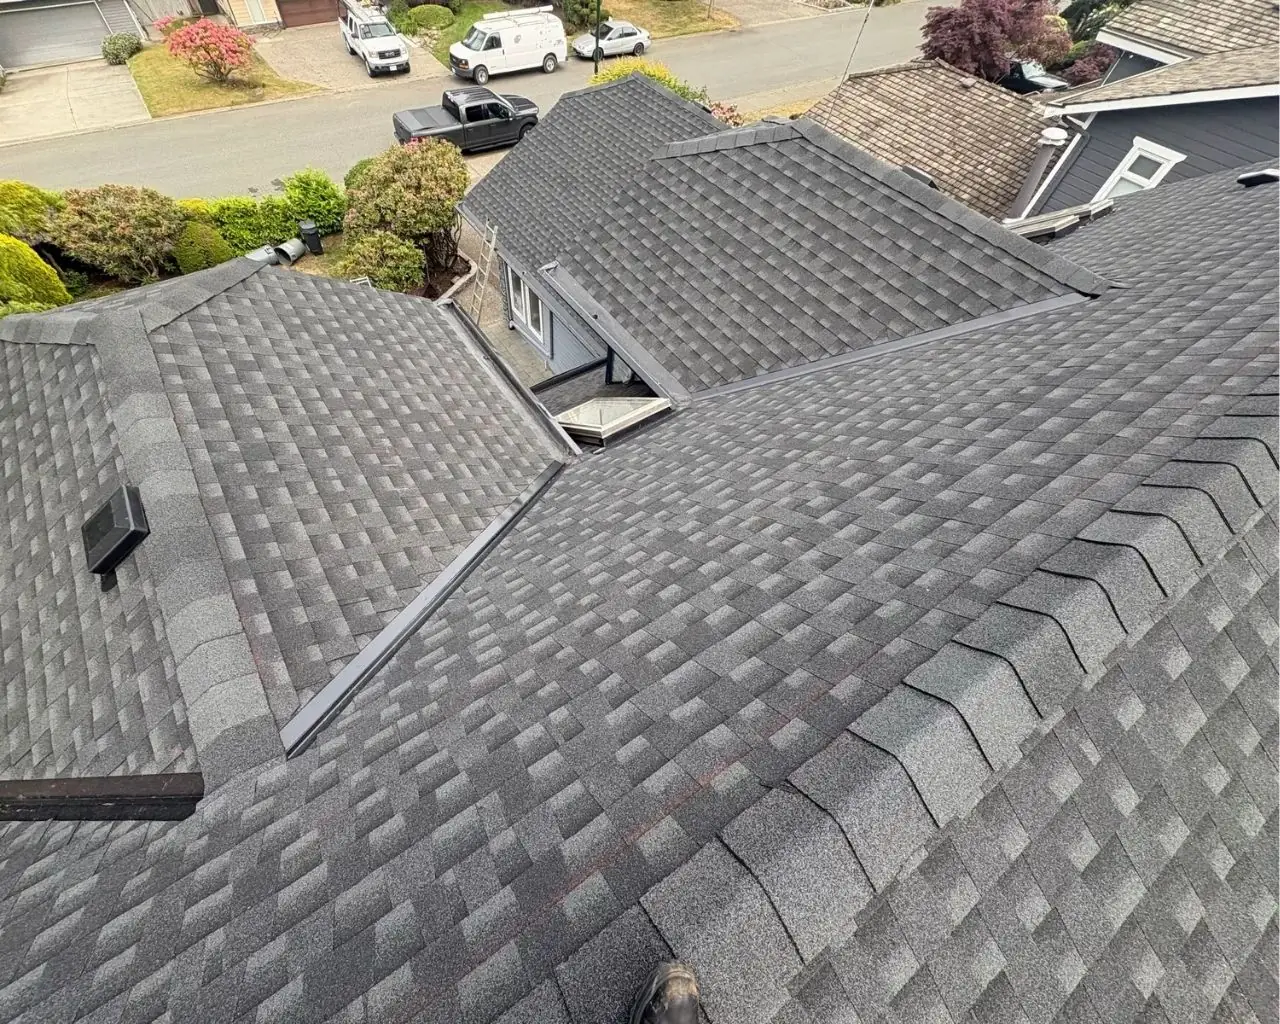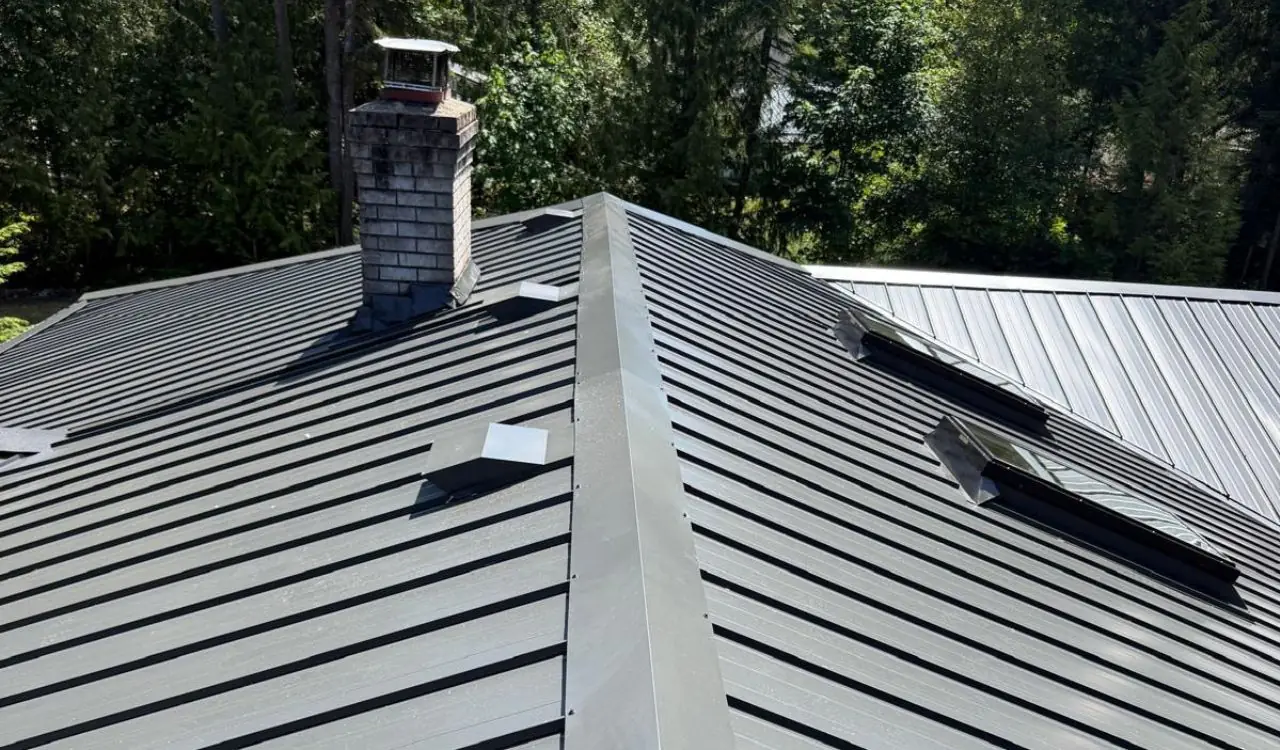
When a windstorm tears across Vancouver, the damage to your roof is not always obvious from the driveway. Shingles can lift and settle back into place, flashing can loosen without falling off, and a small puncture from a flying branch can sit quietly above your ceiling for weeks before the first stain appears. That is why the hours right after a storm matter so much. This guide to storm damage roof repair in Vancouver covers what to do first, how to spot the damage you cannot see from the ground, and how to tell whether a repair will do or whether the roof needs replacing.
What to Do First After Storm Damage to Your Roof
Work through these steps in order: they protect your home and any insurance claim you may need to make.
- Start inside, not on the roof. Walk through the top floor and the attic, if you can reach it safely, and look for active drips, wet insulation, new stains on ceilings and walls, and daylight showing through the roof deck. Put buckets under any active leak and move furniture and electronics out of the way.
- Stay off the roof. A storm damaged roof is slippery, and lifted shingles hide soft spots and broken decking. Falls from roofs are one of the most common serious injuries after a windstorm. Leave the inspection to a roofer with the right equipment and fall protection.
- Photograph everything, from the ground. Take wide photos of each slope, then close ups of anything that looks wrong: missing shingles, lifted tabs, bent flashing, a damaged vent, branches on the roof, and granules washed into the gutters. Photograph the inside damage too, and note the date of the storm. Photos taken on the day are the clearest record you will ever have.
- Call a roofer before you call anyone else. A local roofing contractor can inspect the roof, make it watertight with a temporary repair, and give you a written report of what the storm did. That report is what an insurer wants to see. Our roof repair service covers emergency callouts across Vancouver, Surrey and the wider Lower Mainland after windstorms.
- Notify your insurer promptly. Most home insurance policies ask you to report storm damage quickly. Tell them what happened, share your photos, and ask what documentation they need before any permanent repair starts. Do not delay a temporary repair that stops water coming in: insurers generally expect you to take reasonable steps to limit further damage.
How to Spot Storm Damage You Cannot See From the Ground
Wind and flying debris damage a roof in ways that are easy to miss from the street. Here is what to check safely from the ground with binoculars.
- Missing or creased shingles. The most common wind damage on the BC coast. A shingle lifted and folded back by the wind is creased along the fold and will not seal down again properly. Even one missing shingle leaves the underlayment exposed to the next rain.
- Lifted shingle tabs. Tabs that have lost their seal look flat from a distance but lift easily at the edge. If the line along the bottom edge of a course is uneven or wavy, the seal has broken in places, and wind driven rain can get underneath.
- Granule loss in the gutters. Shingle granules protect the asphalt underneath from sun and rain. After a storm, check the gutters and the ground at the downspouts for a heavy load of granules: a small amount is normal wear, but a sudden pile after one storm means the shingles took a beating.
- Damaged flashing and vents. Flashing around chimneys, skylights and valleys is thin metal, and wind can bend it, lift it or tear it loose. Ridge caps, vent boots and turbine vents are also common casualties, and a flashing failure leaks even when the shingles around it look fine.
- Impact damage. Branches and other debris can puncture shingles and underlayment, crack tiles, or dent a metal roof. An impact mark often looks small from outside, but the hole underneath can be wide enough to let in a steady drip.
- Signs in the attic. Daylight through the deck, damp insulation, water stains on the rafters, and a musty smell that was not there before the storm all point to a breach. If you can see daylight, water can get in.
If you are unsure whether your roof was damaged at all, a professional inspection is worth booking anyway: a roofer on the roof sees the lifted tabs and cracked flashing that a ground level look misses. Our guide to protecting your roof from storm damage this winter explains what to check before the next storm arrives.
Storm Damage vs Wear and Tear: Why the Difference Matters
Not all roof damage is storm damage, and the difference matters for your insurance claim and for your repair decision. Storm damage is sudden and tied to a specific event: shingles torn off in one night of high wind, a branch through the roof, flashing bent by a gust. Wear and tear is gradual: granule loss over years, shingles curling with age, moss lifting the edges, sealant drying out. A roof can have both at once, which is common on older Vancouver roofs, and that is where a written inspection report earns its keep.
An insurer generally covers sudden, accidental storm damage, and generally does not cover gradual deterioration or maintenance the homeowner skipped. That is why the photos and the date matter: they tie the damage to the storm, not to the age of the roof.
Temporary Repairs That Protect Your Home While You Wait
A permanent repair cannot always happen the day after a storm, especially when half the Lower Mainland is calling roofers at once. A temporary repair keeps the water out until the full job can be scheduled.
- Tarping. A properly secured tarp over the damaged area, fastened to solid decking and not just to the shingles, is the standard emergency fix. It is a job for a roofer: a tarp nailed through good shingles creates new leaks, and a tarp that comes loose in the next gust is worse than no tarp at all.
- Sealing the leak from inside. If water is coming through, a bucket and a plastic sheet over the furniture is the right response inside the house. Do not try to seal a roof leak from the attic with caulking or foam: it traps the water in the wrong place and hides the damage from the roofer.
- Clearing debris. Branches on the roof should come off, carefully, once the wind has died down. A branch left sitting on shingles holds moisture against them and can slide and tear more shingles loose. If the branch is large or the roof is steep, leave it for the roofer.
- What not to do. Do not climb on a wet or damaged roof to patch it yourself, do not pressure wash storm debris off the shingles, and do not let a door to door crew start work without a written quote and proof of insurance.
How Storm Damage Roof Repair Works in Vancouver
A proper storm damage roof repair in Vancouver follows the same steps whether the damage is three shingles or a whole slope.
- Inspection and report. The roofer inspects every slope, the flashing, the vents and the attic, photographs the damage, and writes up what the storm did and what it will take to fix it. This report is your record for the insurer and your basis for comparing quotes.
- Written quote. The quote should list the repair area, the materials, the labour, and what happens if more damage is found once the shingles come off. A quote that is one line and one number is not enough to compare against another contractor.
- Repair. Damaged shingles are removed, the underlayment underneath is checked and replaced if it is torn, and new shingles are installed and sealed to match the existing roof. Flashing is repaired or replaced, vents are resealed, and the work area is checked from the attic for any missed entry point.
- Matching the existing roof. On an older roof, the exact shingle colour and profile may no longer be made. A good contractor will tell you honestly when a close match is the best available, and when the mismatch is so visible that a larger repair, or a replacement, is the better choice.
- Cleanup and final check. Nails and debris are collected with a magnet sweep, the gutters are cleared, and the repair is checked from the ground and from the attic. A written workmanship warranty should come with the repair, so get it in the contract, not in a verbal promise.
For a fuller picture of what a well run roofing job looks like from start to finish, our step by step guide to the roof installation process walks through inspection, tear-off, underlayment and the final walkthrough.
How Much Does Storm Damage Roof Repair Cost in Vancouver?
There is no single price for storm damage roof repair, because the cost depends on the size of the damaged area, the roofing material, the pitch and the height of the roof, and how easy it is to reach the damage. Replacing a few lifted shingles on a low, walkable roof is a small job; repairing a whole slope or working on a steep, three storey roof is a different job entirely.
What you should expect instead of a price is a written, itemised quote after an inspection, with the damage listed and the materials named. Be cautious of any contractor who prices storm damage over the phone without seeing the roof, or who asks for full payment before the work starts.
When a Repair Is Enough and When You Need a Replacement
Most storm damage is repairable. A repair is usually the right call when the damage is localised to one area, the roof is still well within its expected life, the surrounding shingles are sound, and matching materials are available. A good repair restores the roof to watertight and lasts as long as the roof around it.
A replacement is worth considering when the damage is spread across several slopes, when the roof is already near the end of its life and the storm simply finished it, when matching shingles are no longer made, or when the decking underneath has been damaged by water over time. In those cases, patching buys a year or two at most. Our Vancouver roof replacement cost guide breaks down typical 2026 ranges by home type, so you can weigh the two options with real numbers. If you are unsure how much life your roof has left, our guide to how long a roof lasts in Vancouver explains what shortens a roof's life in our rain and moss climate.
What to Ask Before You Hire a Storm Damage Roofer
After a big storm, the crews that appear at your door are not all equal. Ask these questions before you agree to anything, and get the answers in writing. Our guide to how to choose a roofing contractor in Vancouver covers the licences, insurance and reviews to check in full.
- Are you licensed, insured and covered by WorkSafeBC, and can you show proof?
- Will you inspect the roof and give me a written report and an itemised quote before any work starts?
- How soon can you make the roof watertight, and when can the permanent repair be done?
- What workmanship warranty comes with the repair, and is it in the written contract?
- Will you match the existing shingles, and what happens if the exact match is no longer made?
- Can you work with my insurer, and will you provide the photos and the report they ask for?
A contractor who answers these plainly is a contractor you can trust with the work. One who pressures you to sign on the spot, asks for full payment up front, or cannot show insurance is one to walk away from, however urgent the leak feels.
The Bottom Line
Storm damage roof repair in Vancouver starts with three moves: stay off the roof, document the damage with photos, and get a roofer out to inspect it and make it watertight. The decisions that matter follow: whether the damage is a repair or a replacement, what the insurance covers, and who you trust to do the work. If a windstorm has just hit your home anywhere in Vancouver, Surrey, Delta or the wider Lower Mainland, book a free inspection and we will inspect the roof, give you a written report and an itemised quote, and make it watertight before the next rain arrives.